

Manual mode – the very words as a beginner photographer made me –shutter. Ahhh, okay I’ll steer clear of puns for the short term just so you can focus on what you really came here for – to learn how to actually shoot in manual mode once and for all. I may have been trying to play it cool, but I’m serious about what it was like as a beginner, and even a year after getting my first camera: manual mode felt incredibly intimidating and difficult to understand. I learned all the concepts in my college photography club but never figured out how they all worked together in practice. That’s the key understanding that this easy-to-use guide is going to provide for you in learning how to shoot manual mode on a Canon DSLR.
The concepts and tips in this guide can actually be applied to any brand of DSLR camera because mastering manual mode is based on the same principles. However, I have my experience on Canon DSLRs so I will be referring to its exact physical buttons and mechanisms.
Most important of all, I’m going to make these ideas easy to learn and actually use.
When I first got a camera, I was ignorant to the concepts of ISO, aperture, and shutter speed, and, furthermore, the implementation of them. I didn’t know how the camera actually took a picture and determined what it would look like!
It’s understandable you or I wouldn’t know the concepts when starting a new hobby and even a profession. But the way we learn these concepts will either accelerate us into being the driver of the camera and mastering manual mode or sticking to settings that leave us helpless in the passenger seat.
The following guide is going to cover the concepts you may have heard of but explain them plainly, with as little confusing jargon as possible. In addition, I’m providing tangible tips and strategies for how to implement the concepts into the reality of your photography – one’s I’ve actually used to master manual and make money with my photography.
Some of these links are affiliate links. This means if you make a purchase through that link, I receive a small commission at no extra cost to you. Read my full disclosure!
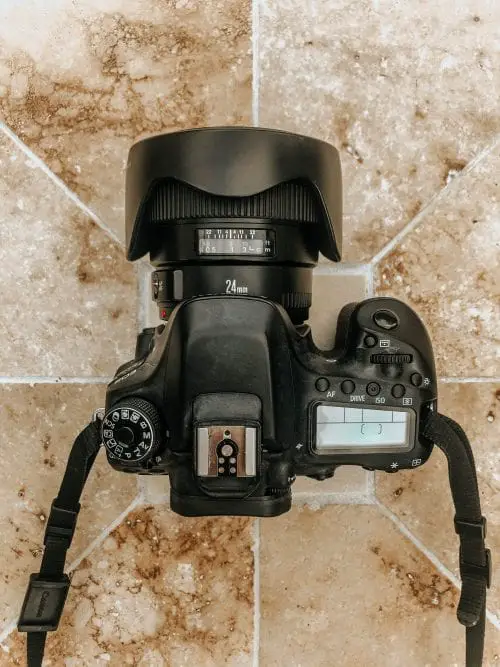
So, as a beginner or someone ready to up their skills in photography, you may think, why even trouble with manual mode? Most DSLR’s come with pre-programmed settings on the camera. You may find these settings say something like “portrait” or “landscape.”
The camera is trying to determine for you, based on the lighting situation you are in, what settings will produce the clearest picture.
The problem is the camera can only be so intuitive. Or, maybe you are trying to achieve a certain look and pre-programmed settings don’t allow you to have any control.
In most cases, the camera is going to try to take a picture with the evenest lighting it can achieve.
Manual mode allows you to control all of the settings. You determine how you manipulate the lighting and compose the photograph because you are adjusting each moving part of the camera’s main settings – Aperture, Shutter Speed, and ISO.
As I dive into the concepts mentioned above and examples, it will become a lot clearer why manual mode is so powerful.

Let’s learn how to shoot in manual mode on a Canon DSLR by first understanding what settings affect what the picture looks like! All three of these concepts affect and control how the camera uses light.
Instead of technical vernacular, I am going to describe the settings in easy-to-understand terms.
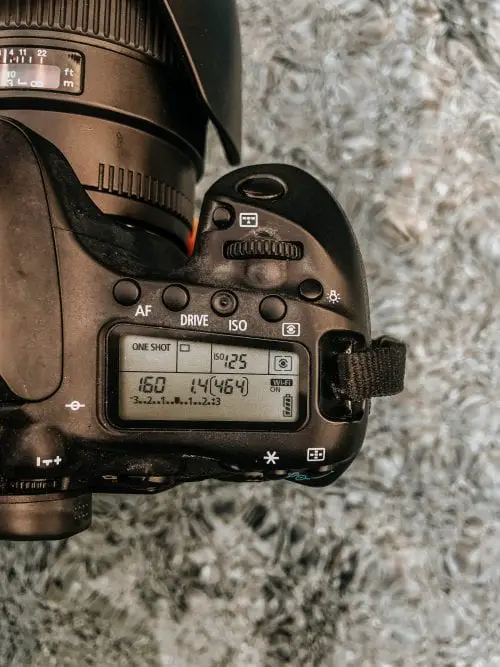
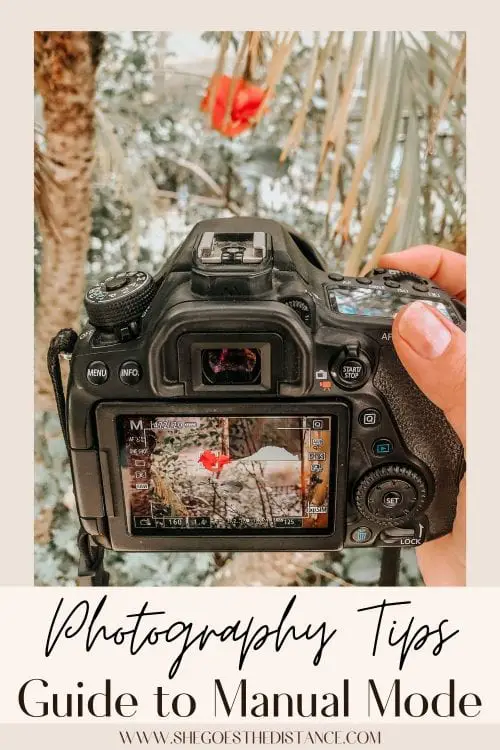
Aperture controls how wide the shutter of your camera opens, from a very low f-stop (f/) of f/1.2 to a super high f-stop of f/22, let’s say. You can see all your settings on the Canon 80D model, including similar models and more advanced bodies, on the top-right screen. To the left is your shutter speed (160). Next to that is your aperture currently at f/1.4 and ISO is just above that at 125.
So now it’s time to put those three settings together!
This is the part that I could never figure out when I attempted to shoot in manual mode. I knew what the definitions were of these concepts, but I didn’t understand how to set them or how they influenced the picture.
That is, until one day it clicked after lots and lots of practice. That’s how it will happen for you too!
Once you practice adjusting the settings over and over again and seeing how they affect your photo, you will understand how they work.
To start, take a look at your aperture. I prefer to keep my aperture low to let as much light in as possible. Increase your aperture if the photo is too bright, which will increase the detail you see in the photo.
Start with your shutter speed at 1/250 and see how bright your picture comes out. If it’s too bright, increase the setting until the photo is crisp and clear.
If you’re trying to capture movement, but a low shutter speed is too bright, increase the aperture.
You can keep your ISO to Auto and it will usually balance the light quite well. If you are shooting night photography, for example, you’ll want to let as much light in the lens as possible. So set your ISO higher, your shutter speed low, and your aperture low to let the most light in.
In broad daylight, you may need a lower ISO, higher aperture, and higher shutter speed to balance the light.
These are general examples to showcase how the moving parts of ISO, aperture, and shutter speed work together. Now let’s get into some tips for controlling these settings.
There are three modes you can experiment when learning how to shoot in manual mode on a Canon DSLR. Two of them are especially suited to beginners!
The most obvious of the three methods is to do completely manual.
Manual mode is on your settings dial as “M.” You’ll be able to adjust the aperture, shutter speed, and ISO. I’ll explain in the next section what buttons allow you to control these sections!
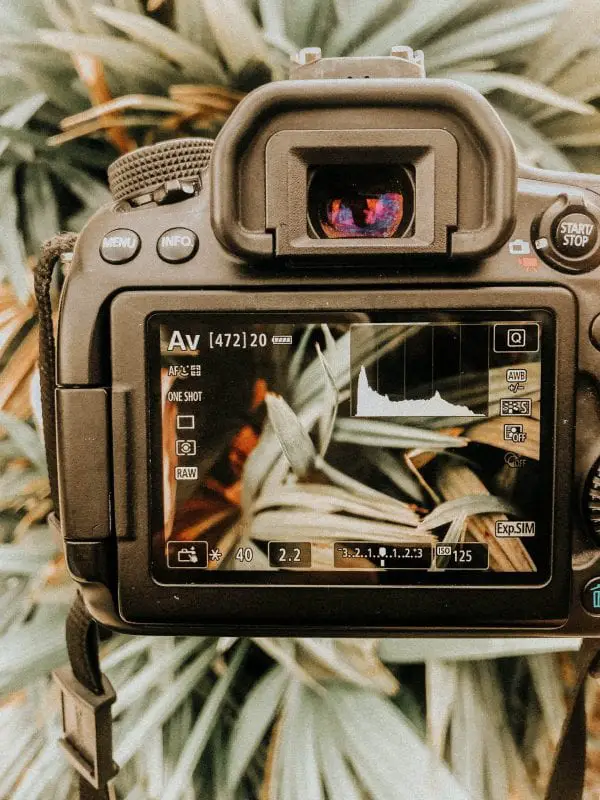
You can see the camera is in Av (aperture priority) mode to the top left of the touchscreen panel.
Aperture priority is a camera mode that allows you to adjust your aperture only. It is found on your settings dial as “Av.”
The shutter speed stays on the same setting determined by the camera. Then you can adjust your aperture, from f/2.8 to f/11, for example, to see how only changing the aperture changes the look of the photo.
You’ll see after you take the photo what the determined shutter speed and ISO was to give you an understanding of how the settings worked together.
It’s a great starting point for gaining a better idea of how widening and narrowing the aperture of your lens affects the lighting and detail in your photo.
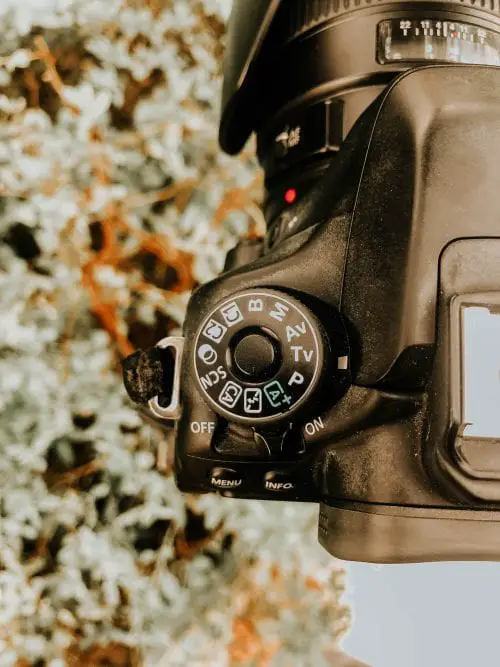
You can set your camera to Tv for shutter priority mode on the settings dial on the top-left.
Shutter priority is the same concept as aperture priority, except in this mode you adjust only the shutter speed.
Set it to one shutter speed and the camera chooses the aperture and ISO. You can see what those settings are during and after the photo is taken.
Again, this helps you isolate one setting and see how it affects the photo. It is a great stepping stone on the way of learning manual mode!
Hopefully how the three main components of your settings work together makes a bit more sense now. I want to break down tips for implementing these settings and how to shoot in manual mode on a Canon DSLR using the physical features of the camera body.
I use a Canon 80D camera body, so I’m going to be pointing out where you can see your settings and what controls them.
On my type of camera, you can adjust settings on the touch screen or manually with the physical mechanisms.
Adjust your shutter speed using the dial on the top-right of the camera, right behind the capture button.
Change your aperture by using the dial next to the touchscreen, the same dial you use to scroll through your photos.
Adjust your ISO using the touchscreen or the ISO button above your top-right settings screen.
You can change modes, from manual to Av to pre-programmed settings, using the dial on the top-left of the camera.
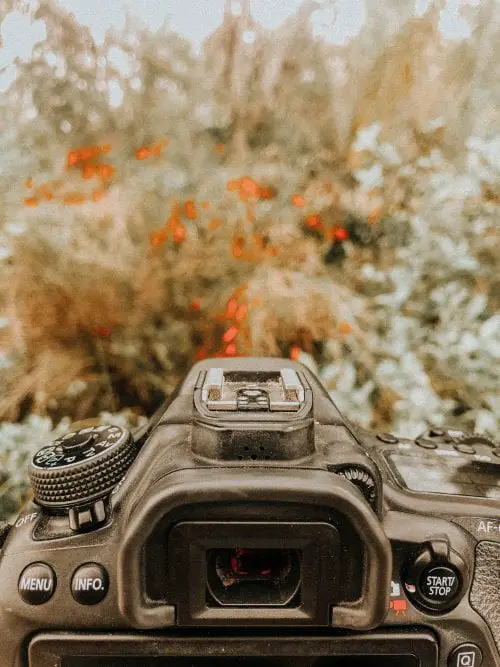
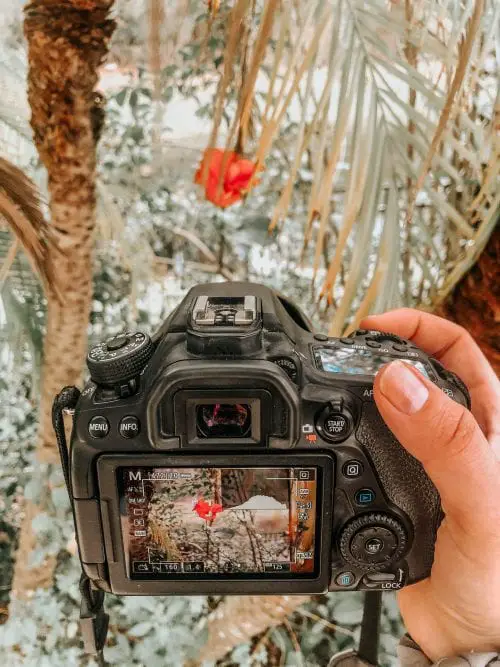
There are two ways you can visualize the photo you’re taking, at least on the Canon 80D.
You can use the viewfinder at the top of the camera to see through at what you’re looking at.
You can do a live view using the touchscreen by hitting the “Start/Stop” button. I prefer to do this to get a bigger visual seeing how my adjustments of the settings affect the photo.
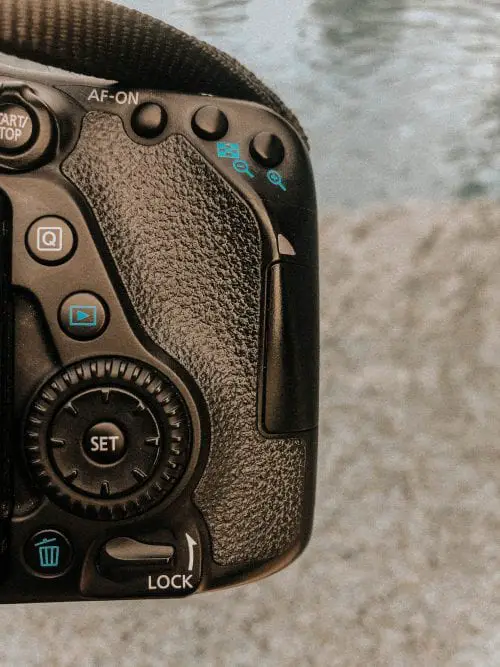
Lock your settings using the “Lock” handle below the aperture adjusting dial.
Maybe you’ve hit a sweet spot with the settings you’ve adjusted during a shoot. To keep yourself from accidentally hitting something on the touch screen, there is a small lever below the
You may also lock your settings because you want a consistent look between all your photos.
The way you’re going to master learning how to shoot in manual mode on your Canon camera is to practice using it!
Practice adjusting all the settings or just one setting at once to see how it affects the photo.
Take note of photos you’ve taken that you like and see what your settings were! They are displayed at the bottom of your photo in your camera or in Adobe Lightroom (which is essential for all photographers) on the image itself in the top left corner.
Lastly, put yourself in lots of different lighting situations. Play around with the settings and it will increasingly feel instinctual how to adjust settings adjustments based on the lighting environment you are in.
Don’t forget to share this guide on Pinterest if you found it helpful!
Leave a comment if you have questions or thoughts about learning to shoot in manual mode!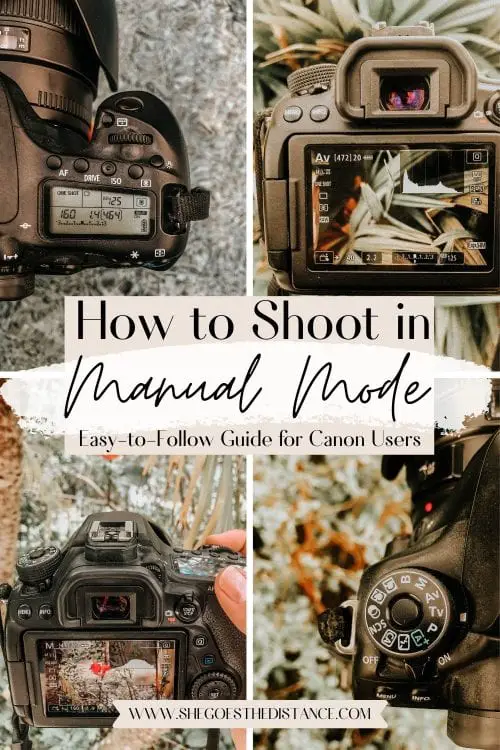
I hope this post was an easy-to-follow and thorough guide helping you to learn how to shoot in manual mode on a Canon DSLR!
In time, and with lots of practice, it will all come together and you will be a master of manual mode!
Michela is a travel writer and photographer living in northern Italy. She is passionate about helping people make the most of their travels by sharing advice gained from her personal experiences, off-the-beaten-path destinations and memorable itineraries. Browse her top articles or have her help you plan your itinerary to your dream destination!
Hi there! I'm Michela, a travel photographer living in northern Italy with a passion for empowering wanderlusting women like you to travel fearlessly and start living their travel dream.
Let's go the distance together!